Showing posts with label architecture. Show all posts

Friday, June 19, 2015

Random Rubble Masonry

 
This summer, the partners and sponsors of Projekt CHARME have invited two stone carving students and myself from the American College of the Building Arts in Charleston, SC to learn and practise the craft of random rubble masonry in the tradition of the Saxony-Anhalt region of Germany. All of us having previous experience in coursed masonry in stone and brick, so we're expected to become quick learners of random rubble masonry, ambitiously entrusted with a project to re-erect two walls of a 19th century orangerie in the "Landschaft" or public nature park of Althaldensleben. The walls incorporates quoins, windows, door and cornice elements as well.

Building in Stone

Architecture utilizing this tradition of random rubble masonry is exceedingly durable and to my eyes conveys  a rustic sublimity. Several structures in Hundisburg including two medieval towers, the local church as well as the fortification walls of the old "Burg" or citadel how incorporated into the present "Schloss", castle date back 800 years. All of these charming, hand built structures are still in continuous use and fine condition with minimal maintenance requirements.

Neither was stone masonry reserved strictly for the church or castle. The entire town of Hundisburg below and the neighboring Haldensleben typically have ground floors of random rubble masonry, above which you'll find timber framing with lime plaster rendered stone infill on the first and sometimes second floors. This method of construction, also known as half timbering, keeps the oak timbers elevated and thus protected from rot. Many of the homes have the name of the "Holzman" or timber framer and date of construction carved directly into the wood. Apparently there was a building boom here in the early 17th century with many residences dating from that period.


Rubble and Randomness

As the name might imply, the stones used are rubble indeed. "Bruchstein" is the name used locally, literally meaning broken stone. And you can see why! The stones are extremely hard, practically impossible to dress or shape by hand tools. I've been informed that they are igneous stones, clearly of the "plutonic" or extrusive type, having cooled rapidly they manifest no crystallization. That does not diminish their density or hardness, however. The most effective way to get them down to usable sizes in the past was to "break" them against each other.

The rubble is random as can be with a gradation of sizes or small boulders to small flat stones one might skip across a lake. All of these come in a variety of shapes and sizes that must fit together like a giant jigsaw puzzle.

Our particular stones come from the Schloss Hundisburg grounds of which the Lanschaft was formerly a part. They in turn were originally quarried from a nearby hill. The quarry long abandoned has filled up into a scenic little lake that serves as a pleasant public summer destination for the locals.


Mise en Œuvre

Dry stack or mortarless random rubble masonry is a big tradition in Scotland and many other places.
Nevertheless, in the Saxony-Anhalt, regional German tradition mortar is used. Traditionally is was always lime mortars; however, on our project the lime is gauged with cement to give an early setting and corresponding compressive strength so that we can work a little faster. As the Bruchstein has a higher degree of impermeability and compressive strength than the blended mortar, neither I nor the local "Steinmetz" or masons see any long term issue with the change in formula.

There are some differences in working with Bruchstein than in my experience. The most obvious is the random nature of the placement of the stones. Although we continue to string lines and use levels to assure the walls are plumb, I have had to forcibly resist the tendency to seek out stones that would result in a regular "coursing" or horizontal banding that is typical of the English and American traditions. Just to imagine how one piece of rubble could fit into another was at first a real challenge. The first week I was practically blind, very slow at selecting pieces but my vision has rapidly sharpened since. One truly has to let oneself go, allowing the stones to arrange themselves in an irregular tapestry. The single conscious decision that you must keep in mind is to make sure you are consistently using stones oriented to tie back into the middle of the wall. If not you might end up with essentially a veneer of stones at the face that would result in long term structural instability.

Another adjustment I've had to accustom myself to was not pre-wetting the stones beforehand. This is typically done with most stone types so that the mortar achieves a better bond. The Bruchstein is so impervious that even dampening them will result in your stones "swimming", sliding out of position. A stiff mortar we've learned is the best mix.

In addition to Bruchstein  we are incorporating "Braunstein", a rosy coloured brownstone. The Braunstein is comparatively much softer and workable with mallet and chisel. Students last year dressed several pieces into orthotopes or extruded rectangular units, edges tooled and centres punched to serves as both structural and decorative quoining. Additionally, we're utilizing odds and ends found in the castle boneyard of tooled "Sandstein" the local yellowish sandstone to cobble together a door and couple of windows. Again, students last year carved a couple of pieces needed to complete the ensemble. The German tradition of tooling is much rougher than what I'm accustomed to from the English tradition. However, I'm quite impressed with it as it reads very well from a distance and allows more room for error, increasing the speed of working significantly.

At the time of this writing we're about half way into our stay and likewise about at the midpoint of our project. The door and windows are taking shape, the castle masons have been impressed with us, now providing us every support and the local folks walking through the park have warmed up as well, taking the time to converse in my broken but improving German. It feels good to know that there is still so much to learn, I'm lucky enough to have the opportunity to do so and work with brother craftsmen who despite language barriers are generous enough to share.


Contributed by Patrick Webb


Sunday, June 7, 2015

Projekt CHARME


Schloss Hundisburg
So for the summer of 2015 I'm working at Schloss Hundisburg, an ostensibly Baroque era castle complex and parkland estate adjoined by a small village situated in the pastoral German countryside about a 2 hours drive west of Berlin. However, I'll save the specifics of my work for a subsequent post and first discuss a little about how I arrived here with a brief history of Haldensleben-Hundisburg and the fascinating project called CHARME.

Haldensleben-Hundisburg

The area of Haldensleben and Hundisburg have evidence of established human occupation dating back some 5,000 years. However, the "modern" period of continuous occupation with the associated names for the towns date back a millennia, to the establishment of what is now known the Straße der Romanik or "Romanesque Road" along which many medieval communities were first introduced to Christianity and a vibrant culture of trade ensued.

A fortification was established in Hundisburg, a walled enclosure and tower keep overseen by knights  swearing fealty to the archbishop of nearby Magdeburg. The left tower of the current castle is original to this medieval period. In 1452, ownership transferred into private hands of the Alvensleben family who continued to develop the grounds, first as a Renaissance castle and subsequent to the 30 years war, greatly expanded them into a majestic Baroque castle and gardens by the early 18th century.

Ownership of the castle transferred once again in 1811 to Johann Gottlob Nathusius, a most successful early German industrialist. Johann acquired about the same time the nearby Althaldensleben Monastery as his personal residence and over the course of the 19th century he and his sons developed the land between the castle and monastery into a 271 acre country park.

During WWII occupying Russian troops accidentally set fire to the castle, causing significant though not total destruction. During the period of the communist East Germany the castle lay abandoned; however, upon German unification ownership transferred to the public realm, the city of Haldensleben, its current trustee. With municipal funds and support from the European Union the castle was largely restored in the 1990's with smaller projects ongoing.

CHARME

CHARME stands for "Charleston Haldensleben-Hundisburg - American Restoration Art Meets Europe". As the name implies the emerging non-profit it is a vehicle for cultural collaboration, specifically in the area of hand craftsmanship between citizens of Charleston, SC and the towns of Haldensleben-Hundisburg, Germany.

After German unification, the Nathusius family returned to Haldesleben and local industrial production with the acquisition/merger of IFA Rotorion, growing it into one of the world leaders in the automotive supply industry. While establishing an additional production facility in Charleston, SC current CEO of IFA Rotorion, Felix von Nathusius and his wife Caroline, befriended John Paul Huguley, founder of the American College of the Building Arts and the idea of cultural collaboration between the communities of Charleston and Haldensleben-Hundisburg through the medium of architectural craft blossomed.

An initial project in the summer of 2012 had then recent ACBA graduate Emily Fairchild Gillett creating pilaster bases in plaster as part of the interior castle restoration. In the summer of 2014 a more ambitious project was taken on, to construct a folly in traditional german rubble masonry upon the foundations of a 19th century orangerie that had fallen to ruin. Under the guidance of ACBA Professor Simeon Warren, Juniors Samuel Friedman and Charles Shuler proposed designs and carved quoins and door surround pieces for the folly using traditional German stone tooling techniques. Now in the summer of 2015 it is up to rising Junior student Jackie Urgo, recent graduate Cody James and myself to build the structure using traditional German methods of rubble masonry construction.

The CHARME project has been getting notable press in the German news with a number of articles in print, radio and television broadcasts. We look to take the results of our summer effort back to Charleston and ensure we get a similar recognition of this burgeoning collaboration stateside. Could this be the start of Charleston and Haldensleben-Hundisburg establishing a sister city relationship complete with an annual festival of craft, music, art and culinary delights? We would like to think so!

Next steps for Projekt CHARME are to establish perhaps an even more ambitious restoration project for the summer of 2016 as well as creating internship opportunities for German students in Charleston to fully reciprocate the cultural exchange.

2015 participants, advisors and sponsors of Project CHARME


Contributed by Patrick Webb

Wednesday, March 11, 2015

Plinth and Jamb Complete


Hooray! The weather here in Charleston has finally broke. We've went from layers of thermals doing our best to keep warm indoors prior to spring break, to t-shirts and shorts working under our timber framed stone shed. Picking up speed and quality on our fireplace project as well.

First up was "tooling" all of the previously carved surfaces. For this we chose a bolster, 2" chisel to be struck with a "dummy", a very lightweight hammer that doesn't give much of an impact, allowing optimum control without risk of damage.


Next us was the last remaining profile the cavetto. I find convex shapes most challenging as it requires a instinctive feel for the precise angle of your chisel to assure you don't dig in to deeply. The process is carve a row top and bottom, carve out the mass in the middle, repeat with increasing caution. Repeating this when the profile is itself extruded on a curve is a real challenge to be faced in the next piece to be carved, the mantle.

I was able to borrow a 1" "bullnose" that was a tremendous help. Unlike a gouge which blade itself if curved, the bullnose is a straight chisel with the edges rounded. This one was the perfect size and I was able to carve out the cavetto quickly and accurately. Finally with jamb and plinth complete I was able to mount one atop the other. Exciting to see our design coming to realisation!


Wednesday, February 11, 2015

Whispers of Lincoln


Dean's eye, Lincoln Cathedral
The past couple of weeks I've begun a secondary project in addition to the Jacobean fire surround. This time I'm assisting one of our seniors in carving a gothic rose window. Very exciting for me as it introduces to me new concepts in carving as extruding profiles in curvilinear fashion and ornamentation.

Professor Simeon Warren did his carving internship at Lincoln cathedral so it was decided to use the rose windows of the north and south transepts, the dean's and bishop's "eye" respectively, as inspiration for the design. Of course our version is far more simplified. Even so, it will measure 5 feet in diametre and weigh several hundred pounds. The finished work will be installed in the oculus window of the historic Trolley Barn, the "new" location of the American College of the Building Arts for the 2016/2017 academic year.


After spending some time in the yard rough cutting the Indiana limestone, I had my two pieces for the window ready to begin. After applying a template, the goal is to square up the three ends the tracery so that the template can be drawn through and applied to the reverse side. Fortunately, we had a lovely visit from post graduate students matriculated in the traditional architecture design studio of Judson University to whom I was able to demonstrate this process. We went out to a local brewery afterwards where the students had tons of questions and expressed their excitement from experiencing the craft of stone carving firsthand.

Whereas I'm just getting started, my senior colleague is much further along. He has two of the tracery pieces completed awaiting ornamentation.

This afternoon, Professor Warren spent some time with us demonstrating techniques for carving ornamentation in limestone. A scrolling floriated vine was decided upon to enrich the cavetto profile of the tracery. Local floral varieties of a four petal dogwood and a five petal jasmine, the South Carolina state flower, were selected. Indiana limestone is a bit "plucky" or coarse grained so we're still working to simplify the details accordingly. Looking forward to truly concentrating on this project in earnest as a senior myself next semester!

Dean Emeritus, Professor Simeon Warren

Contributed by Patrick Webb

Friday, January 23, 2015

Designing a Jacobean Fireplace continued


Mantlepiece, left side
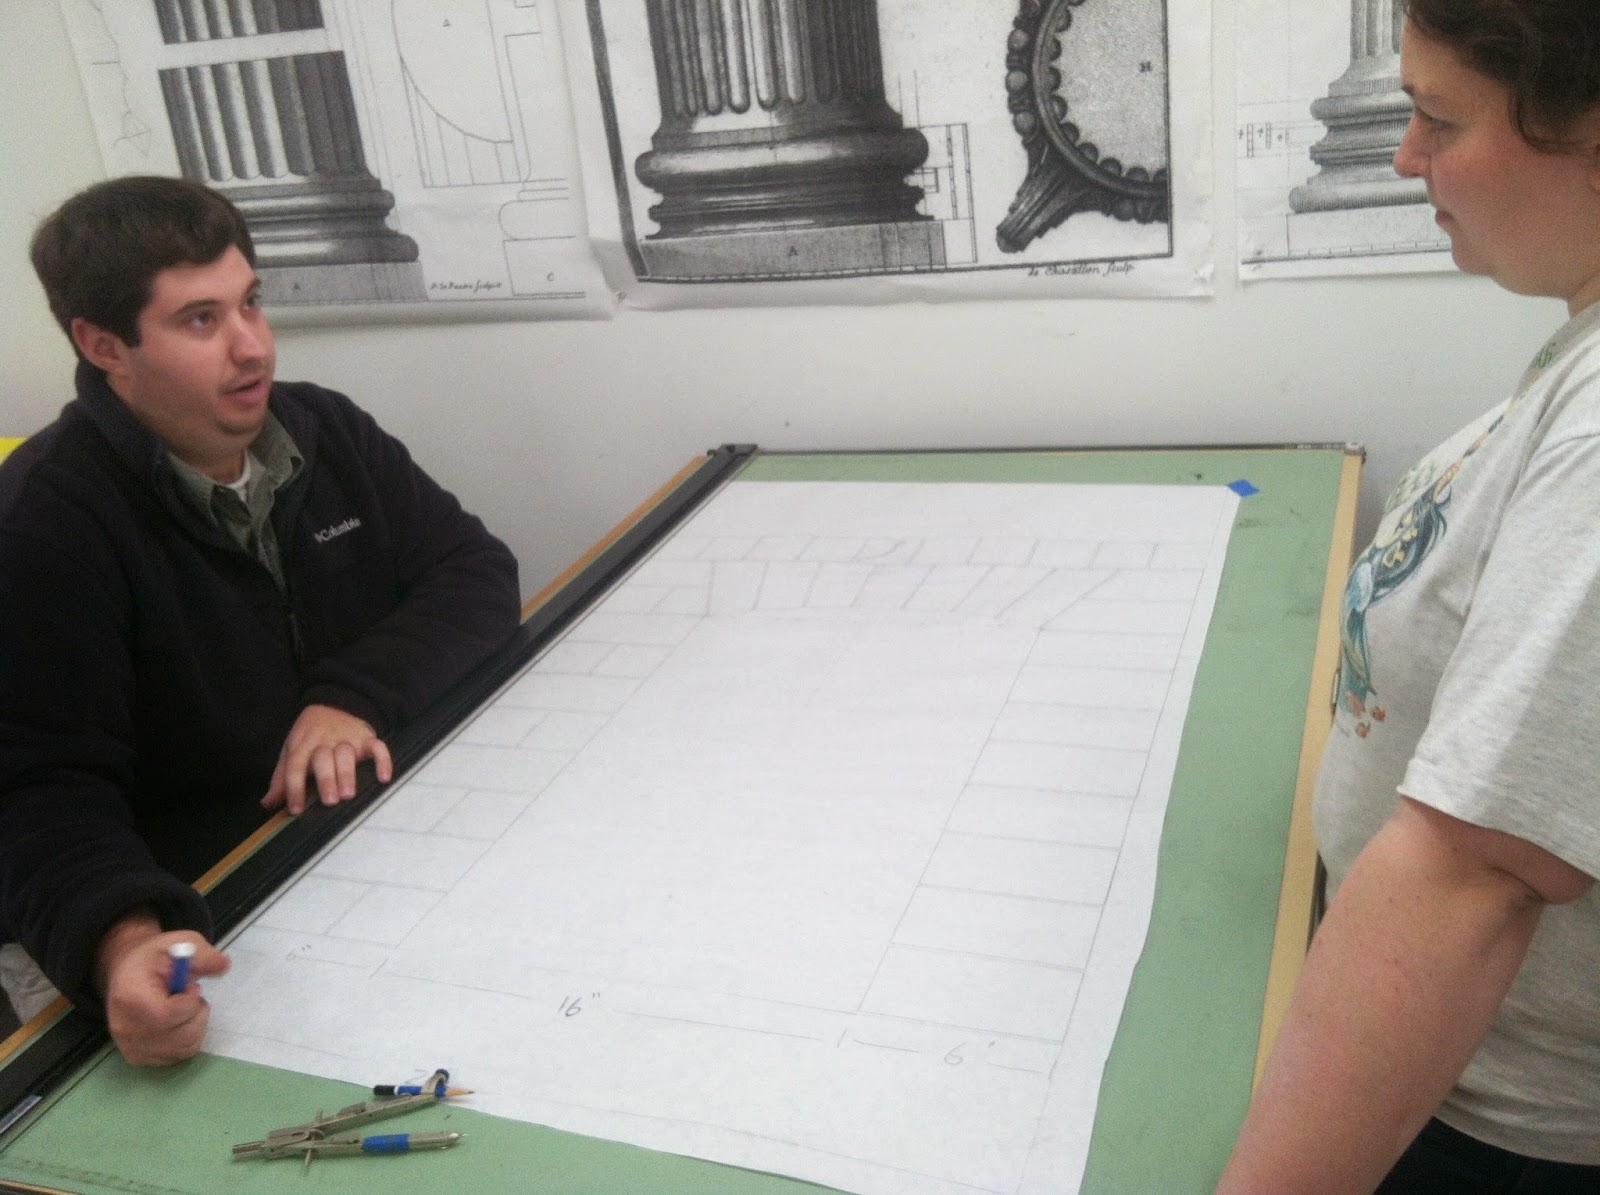
A half day was spent taking our sketches and fleshes out the details in full scale technical drawings. A review with Professor Warren resulted in some minor detail changes. I'm used to thinking of finer plaster details and stone often needs to be more robust to physically hold up to the mallet and chisel.

The redlines led to a minor cascade effect that ended up in another half day of redrawing. Better to work it out in pencil than face an issue in the stone.

Jamb profile and plinth
One of the things I've enjoyed learning in the process is the fireplace specific nomenclature. I have a fairly broad base of architectural vocabulary that didn't necessarily apply and found myself at a loss at what to call things. I believe I now have it sorted out and the pieces are labeled correctly, at least in the image captions.

Mantleshelf
Sam and I have decided to leave the spandrel and frieze areas of the mantlepiece and the concave profile of the mantleshelf solid for now, focusing on plain profile work. That way if a client is interested in the surround we can customize ornamentation for them. That won't preclude us from drawing some conceptual sketches later in the semester.

Our colleague Charles is designing an entire fireplace including the surround and firebox (and the hearth I would imagine) in brick masonry. I'm yet to discuss the details with him but it appears he is designing the surround in rubbed and gauged brick with an ovolo pattern in the mantleshelf. Exciting stuff!


Contributed by Patrick Webb

Wednesday, December 25, 2013

The New Apprentice


The New Apprentice
After so many years of pursuing my craft of plaster I have decided to embrace the challenge of learning an equally noble craft, architectural stone carving as a student at the American College of the Building Arts. And make no mistake my friends, it is a challenge. Whatever experience I may bring from my craft of plaster is negated by the years of acquired habits contrary to my new medium of stone. Plaster is soft, Stone is hard. Plaster is fast, Stone is slow. Plaster is additive, Stone is reductive. I'm in a bizarro world, ground zero, and my arm hurts.

Even more disconcerting, my reputation is on the line. Whilst I teach my sophomore students the art of plastering I transform later in the week into their fellow student, particularly humbling as I'm yet to especially distinguish myself as having a natural aptitude for the art of stone carving. If nothing else it has been a poignant reminder of what it is like to start from scratch and an admonition to empathize, exercise patience and be quick to recognize and praise effort or improvement. I like to think being a student is helping me to be a better teacher.

Please don't get the wrong impression. I'm actually having the time of my life. Learning alongside these young men is energizing. Being taught by a stone carver raised in the tradition of Lincoln and Wells cathedrals is a singular privilege. So what have the lads and I learned in BAAS (Building Arts Architectural Stone) 201, during the Fall semester of 2013? The following is hardly an exhaustive list but chronologically encompasses a few of the highlights:

  1. Accurately measuring the profile of an existing stone
  2. Drawing and drafting a profile
  3. Splitting a large stone by hand with plug & feathers
  4. Creating a flat surface with traditional hand tools
  5. Using a template to apply a profile to stone
  6. Carving an ovolo in a softer Texas limestone
  7. Masonry arch study
  8. Carving a cyma recta in a medium hardness Indiana limestone

Measuring and Drawing


Student tracing a profile
 from an existing piece
Accurately measuring the profile of an existing piece of stone is not as simple as you might think. With six students we initially came up with six slightly different results. Often the stone is damaged or weathered and some judgments have to be made. Methods included applying a surface profile gauge, directly measuring the individual surfaces and tracing the profile directly against a piece of paper. In the end a combination of several methods, occasionally revisited, proved to be the most accurate approach to capturing the profile.


Next we headed to the drafting studio for an exercise in shop drawing skills. Taking our measured profile for reference we imagined two turns and a stop, providing the “top bed” and all four side views, using traditional methods of hand drafted projection.

The completed shop drawing

Splitting Stone and Creating a Flat Surface
 
Student splitting
a large block of limestone
with plug and feathers
Pencils down, into the field we went. First we examined the limestone as received from the quarry, discussing the type of equipment they use to cut the stone and identifying the “bed” or natural grain resulting from the successive layers of sediment that formed the limestone, in this case from a quarry near Austin, Texas. After a number of measurements related to our original piece we proceeded to learn how to split large pieces of stone. The first step is to drill a series of holes about 6 inches apart and to a depth of approximately ½” from the base of the stone. Any closer risks a blowout on the bottom of the stone. Next, “plugs”, wedge-like piece of steel are driven between “feathers” into the holes with a steel hammer. This should be done patiently being careful to listen to the ring of the impact. A higher tone indicates a tight fit. The resulting break is surprising clean, within a ¼” accuracy on the specific Texas limestone we were working with.


"Flatness"
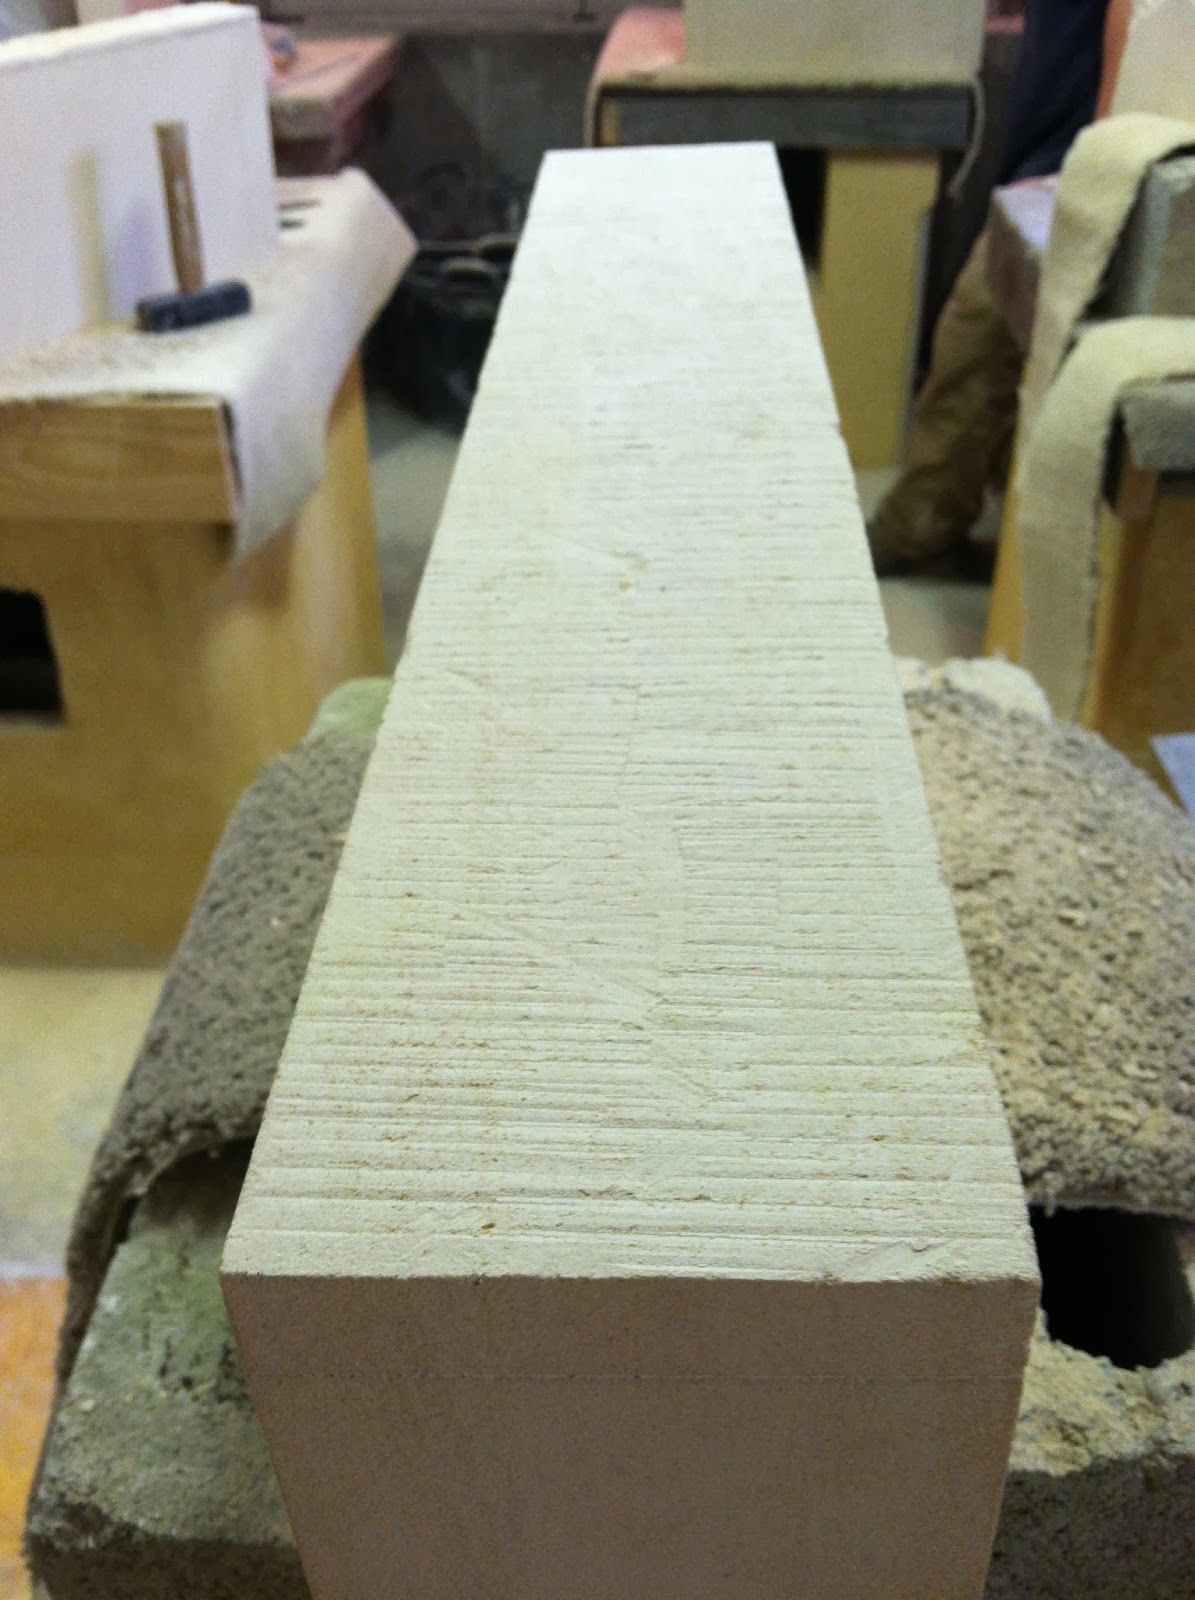
Finally everything was set to begin learning stone carving in earnest. The first goal was to establish a line with a steel scribe around the stone to then cut a flat planar surface to that line. That process exposed us to the full range of hand tools. First a “pitcher” was used with a steel hammer to quickly remove large masses of stone. The steel hammer transfers considerable force into the stone. Other tools for roughing in were introduced such as the “punch” and “claw”, each removing less and less material while offering more control. Finally, as we got closer and closer to our scribed line tools for more refined work such as the “bolster” and chisels were used. These are designed to be used with a nylon mallet that absorbs much of the impact, allowing for greater precision. Frequently checking our work with a steel straight rule, we were all able to achieve the goal of a flat surface.


Student working his way to the line with a "punch"

 
Using a Template to Carve an Ovolo and Cavetto
 
The next step was both exciting and a wee bit intimidating for us all. It involved the convex ovolo curve, the concave cavetto curve as well as two inside corners. Using our previously drafted profile we cut out a template in cardboard. That was placed against the appropriate edges of the stone and scribed in with our steel point or scribe. A hard lead pencil was then sharpened and traced in the scribed lines to make the lines more easily visible. Rather than attempting to approach the curve directly we approached the ovolo gradually in as series of straight planes. 

Applying the template
Approaching completion


Masonry Arch Study and Carving a Cyma Recta


After the mid-term exam it was back to the drafting studio we participated in a preliminary study, a preview of the Spring semester goal of constructing a masonry arch. Four arches were constructed. The first two were single point or radial arches. The first of these at top left is commonly known as a “Roman” arch. Below is another radial arch integrated into an ashlar masonry façade. The top right features a three-centered arch closely resembling an ellipse in curvature. The last one at bottom right is a four-centered or Tudor arch. I'm certainly looking forward to putting this study into practice next semester.

Elliptical Arch
Roman Arch

Rusticated Roman Arch
Tudor Arch


Zinc profile
Our ultimate assignment for the semester was to carve a more complex moulding that prominently features a cyma recta or upright S-curve. This is a practical exercise as each student is assigned a piece. Together the pieces are to be used in the construction of a new sign for the college. The Indiana limestone was much harder than the previous Texas limestone. We used electrically operated grinders to cut off and flatten some of the larger sections before finishing with hand tools. As this work was to last longer and be completed outside we opted for a more durable zinc template. A progress photo is at the top of this article. Completing the moulding involves turning an outside corner and will be our first order of business in the Spring semester!

Plan and elevation for the moulding as well as a shade & shadow study

Contributed by Patrick Webb