|
| The New Apprentice |
After so many
years of pursuing my craft of plaster I have decided to embrace the
challenge of learning an equally noble craft, architectural stone
carving as a student at the American College of the Building Arts. And make no mistake my friends, it is a challenge. Whatever
experience I may bring from my craft of plaster is negated by the
years of acquired habits contrary to my new medium of stone. Plaster
is soft, Stone is hard. Plaster is fast, Stone is slow. Plaster is
additive, Stone is reductive. I'm in a bizarro world, ground zero,
and my arm hurts.
Even more
disconcerting, my reputation is on the line. Whilst I teach my
sophomore students the art of plastering I transform later in the
week into their fellow student, particularly humbling as I'm yet to especially distinguish myself as having a natural aptitude for the art of stone carving.
If nothing else it has been a poignant reminder of what it is like to
start from scratch and an admonition to empathize, exercise patience
and be quick to recognize and praise effort or improvement. I like to
think being a student is helping me to be a better teacher.
Please don't
get the wrong impression. I'm actually having the time of my life.
Learning alongside these young men is energizing. Being taught by a
stone carver raised in the tradition of Lincoln and Wells cathedrals
is a singular privilege. So what have the lads and I learned in BAAS
(Building Arts Architectural Stone) 201, during the Fall semester of
2013? The following is hardly an exhaustive list but chronologically
encompasses a few of the highlights:
Accurately
measuring the profile of an existing stone
Drawing
and drafting a profile
Splitting
a large stone by hand with plug & feathers
Creating
a flat surface with traditional hand tools
Using a
template to apply a profile to stone
Carving
an ovolo in a softer Texas limestone
Masonry
arch study
Carving a
cyma recta in a medium hardness Indiana limestone
Measuring and
Drawing
 |
Student tracing a profile
from an existing piece
|
Accurately
measuring the profile of an existing piece of stone is not as simple
as you might think. With six students we initially came up with six
slightly different results. Often the stone is damaged or weathered
and some judgments have to be made. Methods included applying a
surface profile gauge, directly measuring the individual surfaces and
tracing the profile directly against a piece of paper. In the end a
combination of several methods, occasionally revisited, proved to be
the most accurate approach to capturing the profile.
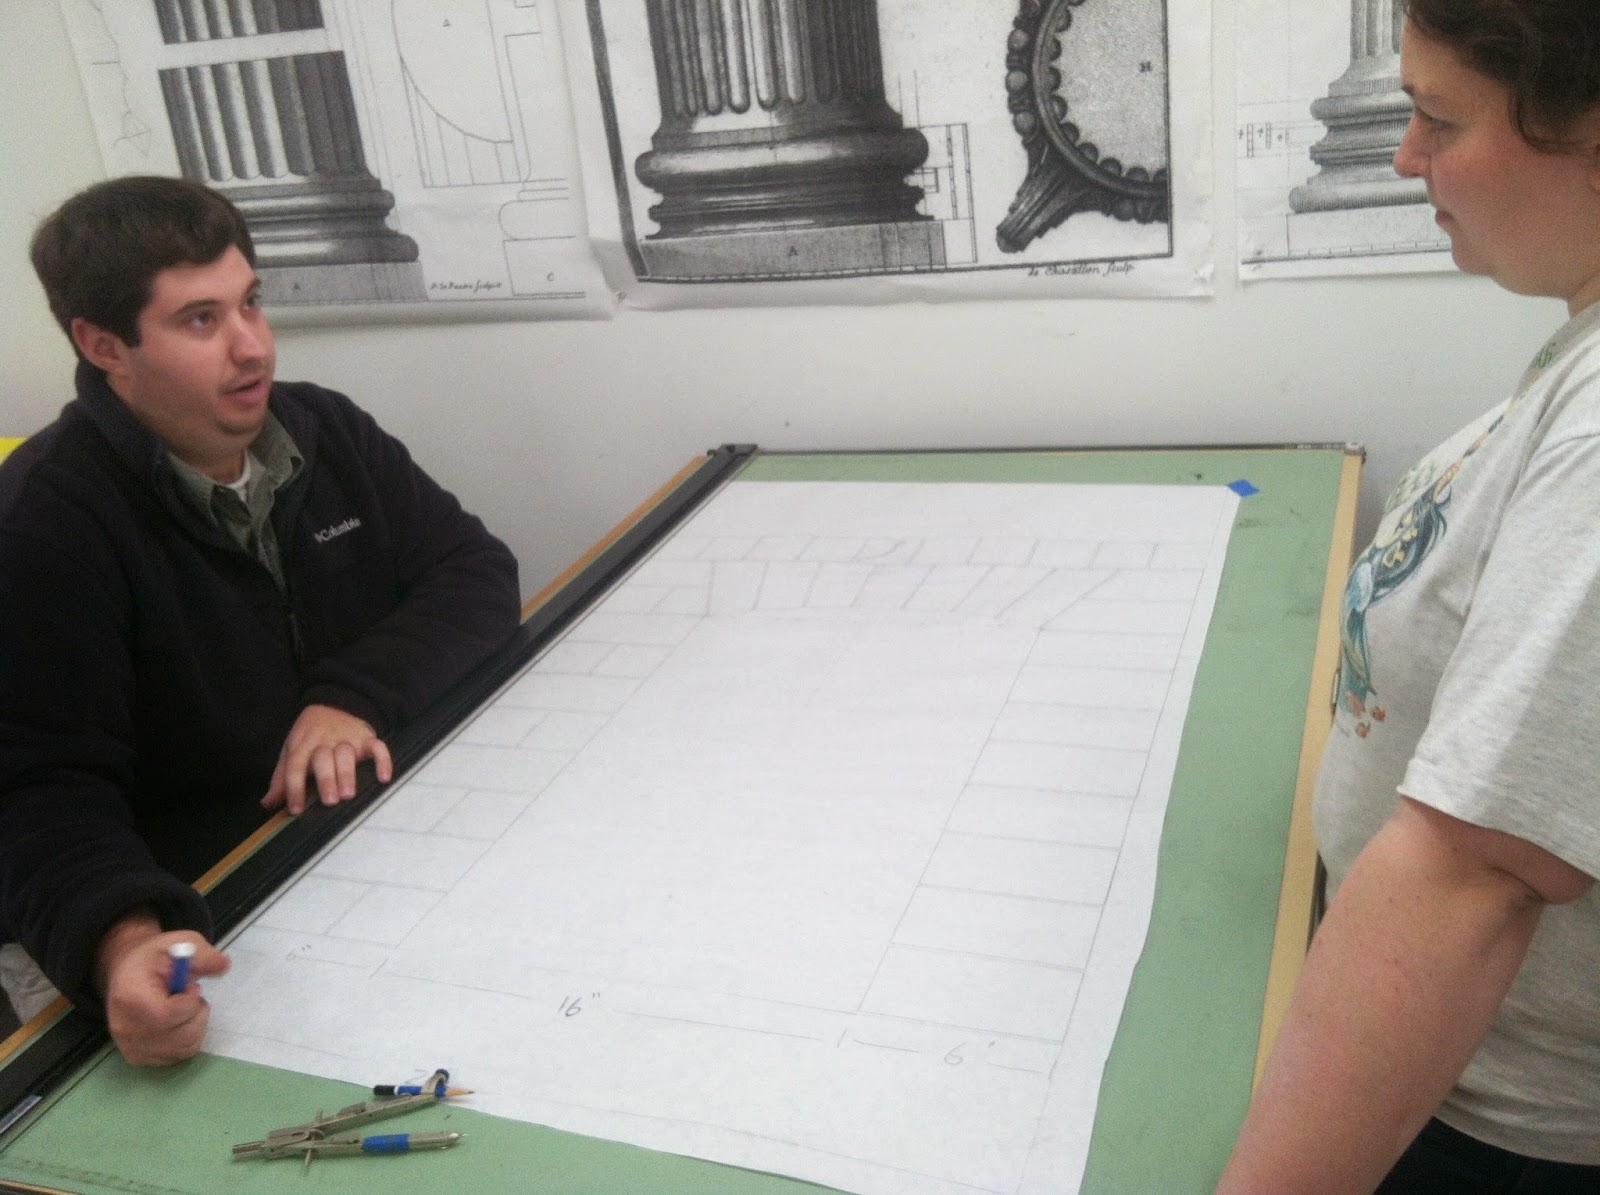
Next we headed
to the drafting studio for an exercise in shop drawing skills. Taking
our measured profile for reference we imagined two turns and a stop,
providing the “top bed” and all four side views, using
traditional methods of hand drafted projection.
 |
| The completed shop drawing |
|
Splitting
Stone and Creating a Flat Surface
 |
Student splitting
a large block of limestone
with plug and feathers
|
Pencils down,
into the field we went. First we examined the limestone as received
from the quarry, discussing the type of equipment they use to cut the
stone and identifying the “bed” or natural grain resulting from
the successive layers of sediment that formed the limestone, in this
case from a quarry near Austin, Texas. After a number of measurements
related to our original piece we proceeded to learn how to split
large pieces of stone. The first step is to drill a series of holes
about 6 inches apart and to a depth of approximately ½” from the
base of the stone. Any closer risks a blowout on the bottom of the
stone. Next, “plugs”, wedge-like piece of steel are driven
between “feathers” into the holes with a steel hammer. This
should be done patiently being careful to listen to the ring of the
impact. A higher tone indicates a tight fit. The resulting break is
surprising clean, within a ¼” accuracy on the specific Texas
limestone we were working with.
 |
| "Flatness" |
Finally
everything was set to begin learning stone carving in earnest. The
first goal was to establish a line with a steel scribe around the
stone to then cut a flat planar surface to that line. That process
exposed us to the full range of hand tools. First a “pitcher” was
used with a steel hammer to quickly remove large masses of stone. The
steel hammer transfers considerable force into the stone. Other tools
for roughing in were introduced such as the “punch” and “claw”,
each removing less and less material while offering more control.
Finally, as we got closer and closer to our scribed line tools for
more refined work such as the “bolster” and chisels were used.
These are designed to be used with a nylon mallet that absorbs much
of the impact, allowing for greater precision. Frequently checking
our work with a steel straight rule, we were all able to achieve the
goal of a flat surface.
 |
| Student working his way to the line with a "punch" |
Using a
Template to Carve an Ovolo and Cavetto
The next step
was both exciting and a wee bit intimidating for us all. It involved
the convex ovolo curve, the concave cavetto curve as well as two
inside corners. Using our previously drafted profile we cut out a
template in cardboard. That was placed against the appropriate edges
of the stone and scribed in with our steel point or scribe. A hard
lead pencil was then sharpened and traced in the scribed lines to make
the lines more easily visible. Rather than attempting to approach the
curve directly we approached the ovolo gradually in as series of
straight planes.
 |
| Applying the template |
 |
| Approaching completion |
Masonry Arch
Study and Carving a Cyma Recta
After the
mid-term exam it was back to the drafting studio we participated in a
preliminary study, a preview of the Spring semester goal of
constructing a masonry arch. Four arches were constructed. The first
two were single point or radial arches. The first of these at top
left is commonly known as a “Roman” arch. Below is another
radial arch integrated into an ashlar masonry façade. The top right features a three-centered arch closely resembling an ellipse in
curvature. The last one at bottom right is a four-centered or Tudor
arch. I'm certainly looking forward to putting this study into
practice next semester.
 |
| Elliptical Arch |
 |
| Roman Arch |
 |
| Rusticated Roman Arch |
 |
| Tudor Arch |
 |
| Zinc profile |
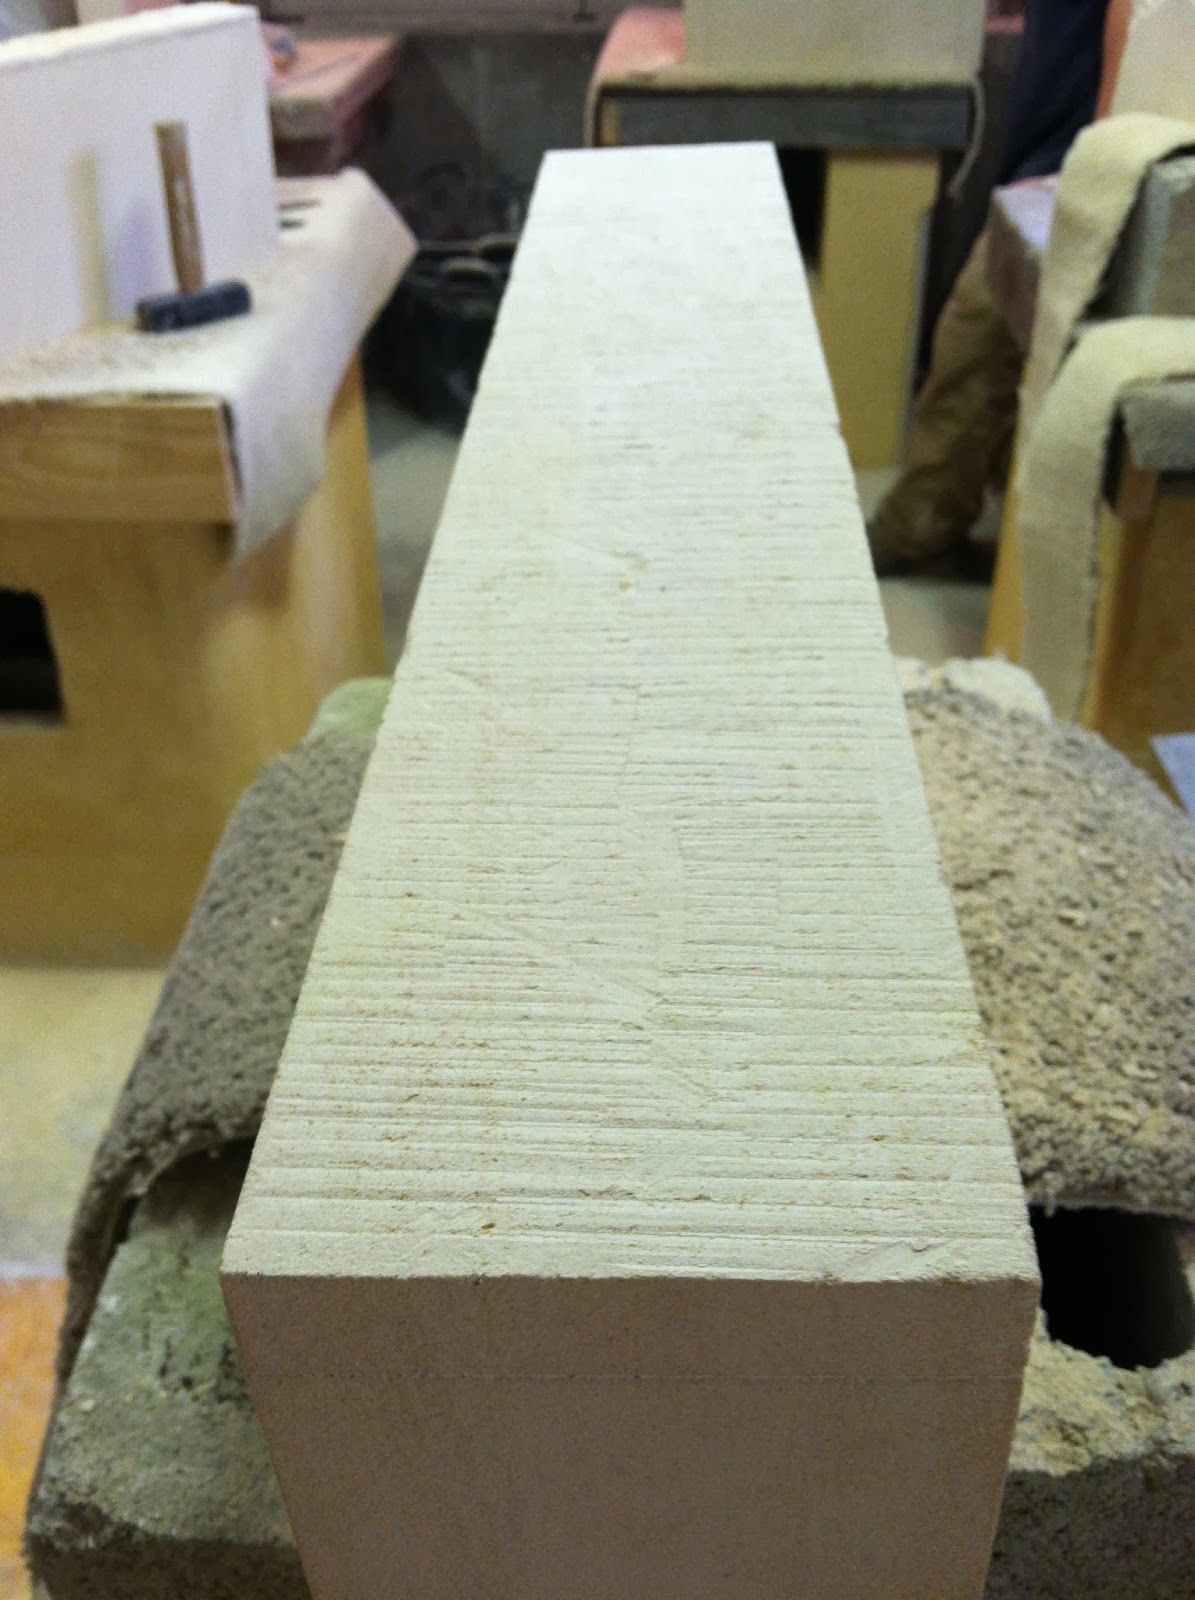
Our ultimate
assignment for the semester was to carve a more complex moulding that
prominently features a cyma recta or upright S-curve. This is a
practical exercise as each student is assigned a piece. Together the
pieces are to be used in the construction of a new sign for the
college. The Indiana limestone was much harder than the previous
Texas limestone. We used electrically operated grinders to cut off
and flatten some of the larger sections before finishing with hand
tools. As this work was to last longer and be completed outside we
opted for a more durable zinc template. A progress photo is at the
top of this article. Completing the moulding involves turning an outside corner and will be our first order
of business in the Spring semester!
 |
| Plan and elevation for the moulding as well as a shade & shadow study |
Contributed by Patrick Webb