Friday, March 27, 2015

Block Out and Template

It took the better part of this week's allotted time just to block out the mantle piece. At 40", the top and bottom are the longest runs I've carved to date. The repetition is helping my efficiency. Knowing when to switch from a claw to a bolster, how much is safe to remove per layer is permitting me to reach the surface in an economy of runs. My partner Sam is at about the same stage.

With everything straight and plumb we can begin applying our templates. Next week some serious carving begins as we go down, extruding profiles into the piece.


Thursday, March 19, 2015

Go Big or Go Home


This week saw me undertaking the last and largest piece of the fireplace: the mantle piece. A spinner with a 9" diametre diamond blade was used to remove mass quickly. However, as usual all work gets finished with mallet and chisels. The limestone piece is big and heavy and requires at least two people to move position.

At 40" wide the top of the mantle is the longest run I've carved thus far. Keeping the surface flat and square over that distance requires focus and frequent checks with my combination square.

Most of my effort this week is just removing mass and blocking out the form. Next week the real work begins of applying and extruding profiles. Eventually, I'll be carving out the inset panels, a new skill to be learned.


Wednesday, March 11, 2015

Plinth and Jamb Complete


Hooray! The weather here in Charleston has finally broke. We've went from layers of thermals doing our best to keep warm indoors prior to spring break, to t-shirts and shorts working under our timber framed stone shed. Picking up speed and quality on our fireplace project as well.

First up was "tooling" all of the previously carved surfaces. For this we chose a bolster, 2" chisel to be struck with a "dummy", a very lightweight hammer that doesn't give much of an impact, allowing optimum control without risk of damage.


Next us was the last remaining profile the cavetto. I find convex shapes most challenging as it requires a instinctive feel for the precise angle of your chisel to assure you don't dig in to deeply. The process is carve a row top and bottom, carve out the mass in the middle, repeat with increasing caution. Repeating this when the profile is itself extruded on a curve is a real challenge to be faced in the next piece to be carved, the mantle.

I was able to borrow a 1" "bullnose" that was a tremendous help. Unlike a gouge which blade itself if curved, the bullnose is a straight chisel with the edges rounded. This one was the perfect size and I was able to carve out the cavetto quickly and accurately. Finally with jamb and plinth complete I was able to mount one atop the other. Exciting to see our design coming to realisation!


Thursday, February 26, 2015

Getting Into and Out of a Jamb


Having my correctly dimensioned orthotope or extruded rectangle prepared, my first step is to remove a good deal of mass. This is accomplished by a chamfer carved across a diagonal line just above the details of the profile. With the chamfer is in place and the surface flat I can connect my applied profiles across the face of the stone giving me a guide to extrude the moulding elements.

The first step in approaching the profile is carving out a series of straight steps, leaving the curvilinear work for last. The step pyramid effect removes mass quickly allowing the approach to the curved surfaces with reduced risk of a blowout.

Finally, very carefully I begin working on the curves, really treating them as a series of straight extrusions, step by step removing small triangular masses of stone along its length until it is safe to clean up along the face.


With just one more concave element to carve, the concave cavetto, and a bit of surface tooling to give a unified pleasing surface the jamb should be complete early next week. Next step if the mantle, a massive complex piece that will likely take me the balance of the semester to complete.

Contributed by Patrick Webb

Tuesday, February 17, 2015

Making Architecture


"What the mind conceives, the eyes see, we come to truly understand when the hands make"


Contributed by Patrick Webb

Wednesday, February 11, 2015

Whispers of Lincoln


Dean's eye, Lincoln Cathedral
The past couple of weeks I've begun a secondary project in addition to the Jacobean fire surround. This time I'm assisting one of our seniors in carving a gothic rose window. Very exciting for me as it introduces to me new concepts in carving as extruding profiles in curvilinear fashion and ornamentation.

Professor Simeon Warren did his carving internship at Lincoln cathedral so it was decided to use the rose windows of the north and south transepts, the dean's and bishop's "eye" respectively, as inspiration for the design. Of course our version is far more simplified. Even so, it will measure 5 feet in diametre and weigh several hundred pounds. The finished work will be installed in the oculus window of the historic Trolley Barn, the "new" location of the American College of the Building Arts for the 2016/2017 academic year.


After spending some time in the yard rough cutting the Indiana limestone, I had my two pieces for the window ready to begin. After applying a template, the goal is to square up the three ends the tracery so that the template can be drawn through and applied to the reverse side. Fortunately, we had a lovely visit from post graduate students matriculated in the traditional architecture design studio of Judson University to whom I was able to demonstrate this process. We went out to a local brewery afterwards where the students had tons of questions and expressed their excitement from experiencing the craft of stone carving firsthand.

Whereas I'm just getting started, my senior colleague is much further along. He has two of the tracery pieces completed awaiting ornamentation.

This afternoon, Professor Warren spent some time with us demonstrating techniques for carving ornamentation in limestone. A scrolling floriated vine was decided upon to enrich the cavetto profile of the tracery. Local floral varieties of a four petal dogwood and a five petal jasmine, the South Carolina state flower, were selected. Indiana limestone is a bit "plucky" or coarse grained so we're still working to simplify the details accordingly. Looking forward to truly concentrating on this project in earnest as a senior myself next semester!

Dean Emeritus, Professor Simeon Warren

Contributed by Patrick Webb

Wednesday, February 4, 2015

Reggae and Rockstone: We're Jammin


Rough block and template
Pretty exciting week all things considered. Perhaps a wee bit too much excitement truth be told. With the plinths completed, work begins on the jambs. After using a grinder to rough out two blocks in the yard I'm left with a piece that will need to be plumbed and flattened on four sides.

Using a steel rule an arbitrary line is drawn along the length of the stone near the edge. The two sides are flattened enough to accurately pull the measurement around the narrow face to complete the line on the other side.

A Tragedy Averted

Blow out below the line
I learned an important lesson regarding pitching. When the stone has a relatively small thickness such as the five inch stone we are using it is best practise not to pitch with the force of the strike into the banker. In my case the impact reverberated back into the stone creating a massive cleaving of the stone that went underneath my surface line.

Too close for comfort
It was hard to tell initially whether my stone would be unusable for the jamb. So first thing I did was walked away for about 20 minutes. Came back, put on some Bob Marley and carved back towards the line until I was confident that the material removed in carving the profile would include the blown out mass. Yah man! No problem, erytin irie!

My comfort with the tools is beginning to manifest itself and I've gotten very adept at creating a flat surface. Professor Warren is now working closely with me on efficiency, the minimum amount of steps it takes to achieve the end result. I'll need those skills to pick up the pace. It is really sinking in how large a fireplace this really is. A lot of carving ahead this semester.

Ready to Rock!
Mission accomplished for the week. My stone is squared up, profile applied and the lines for the chamfer, the first large of mass to be removed, is set up for carving.

Contributed by Patrick Webb

Thursday, January 29, 2015

A Charrette and a Plinth Block


The Charrette
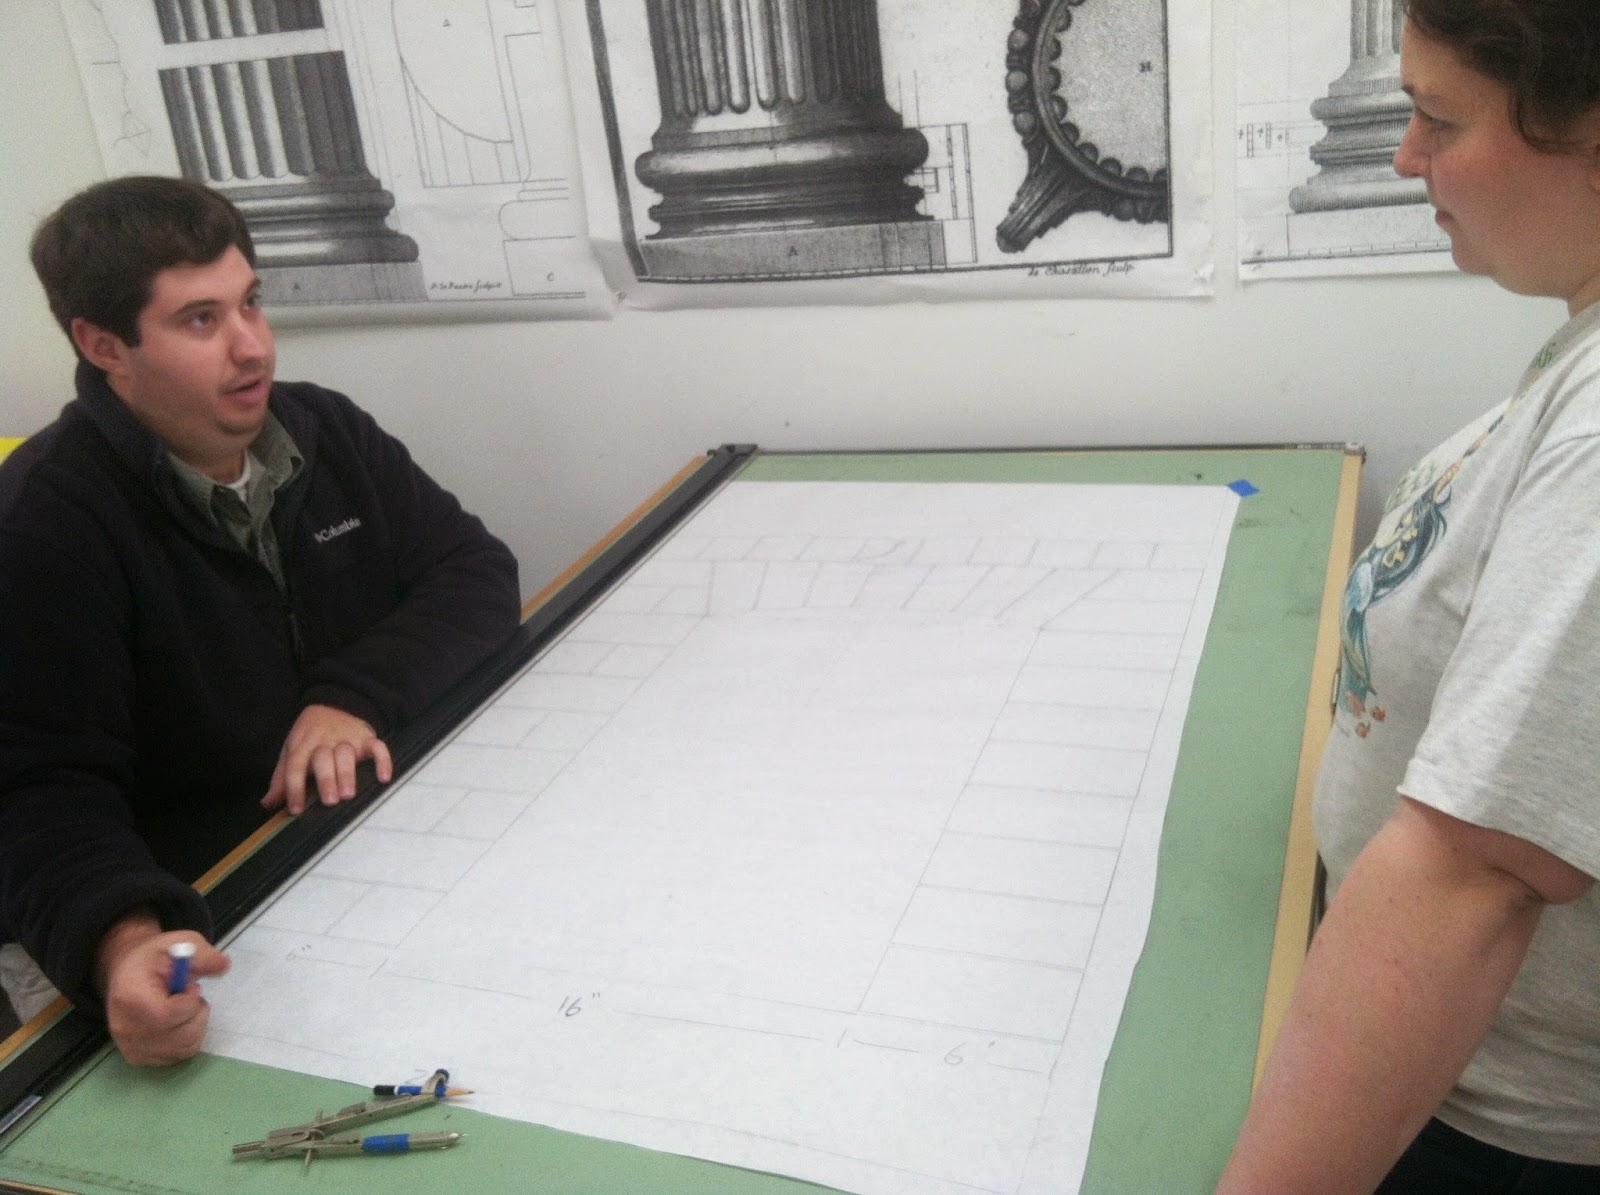
This week the design for the Jacobean fireplace surround underwent a few final revisions regarding details. Two versions, each representing one half of the surround were presented full scale as a charrette. The one on the right was universally decided upon as having better proportions and more amenable to carving in limestone. At full scale, it is evident this is a large fireplace surround and a sizeable project for two students to take on for a semester.

Templates
Knowing what we are going to do allows the work to begin in earnest. The approved conceptual drawing is drafted unto heavy duty card stock and cut out for use as templates.


Carving a Plinth Block
Rough cut block

Best to start off with something easy. The plinth block provides a good way to warm up with a simple geometric form. After locating an appropriately sized leftover block in the yard, I cut it first in two using a mechanical grinder, as well as some additional waste. To the right is the raw block that has only two flat, parallel sides.
Establishing the lines

Using a combination square, a tungsten carbide tipped scribe and a 6H pencil, lines are used to delineate an orthotope (3 dimenstional rectangle) in successive steps. Tungsten carbide is about twice as hard as steel and is used as tips for many of the carving tools. Limestone has a relatively coarse grain. Without a hard lead, we would go through pencils rather quickly.

Pitch and Hammer


Once you have established a trustworthy line the first step is pitching. The "pitch" is a heavy chisel with an outwardly angled chamfered edge, designed to remove copious quantities of stone with a heavy blow. That blow is delivered with a steel hammer that transfers maximum impact into the pitch.
1/2" Chisel and Mallet

The next step that is repeated again and again is to "protect the line". This is done with the 1/2" chisel, an ideal size for controlled line working. By carving above the line in this way there is protection from heavier strikes creating fractures that reach the edge of the stone. Stone will almost always consistently fracture at the point of least resistance. You'll notice many of the tools are struck with a nylon mallet that absorbs much of the impact, offering greater control.

Punch and Hammer


The other "power" tool used to remove large quantities of material at a time is the "punch". Whereas the pitch has a flat surface and removes material from the edge, the punch digs in and removes stone directly from the face. Like the pitch, a steel hammer is used with the punch to transfer maximum force. This is done in rows so as to provide an unrestricted side to fracture towards.
Claw and Mallet

Once the surface is roughly evened out, a series of tools are used to approach the line. The first of these is often the "claw".  The heavy impact is distributed across a row of "teeth" and further softened by the use of a mallet. Claws are generally considered medium impact tools. The texture they create can be intentional and a finish unto itself.
Bolster and Mallet

A broad 2" chisel, the "bolster" is the tool used for the fine removal of material approaching and eventually reaching the finish surface. The bolster was the bane of my existence last year. Stone carving like a lot of craft skills require practice to "dial in", to feel the connection between yourself, the material and the tools. Almost like magic, it has clicked for me recently and I feel totally comfortable with the bolster.
Applying the Template

With my dimensionally correct orthotope completed I'm ready to apply my template. The profile of this plinth is simply a rectangle cut by a chamfer. The next few images show the template applied, a progress photo and the final result:


Progress on the Chamfer
The completed Plinth Block

Contributed by Patrick Webb

Friday, January 23, 2015

Designing a Jacobean Fireplace continued


Mantlepiece, left side
A half day was spent taking our sketches and fleshes out the details in full scale technical drawings. A review with Professor Warren resulted in some minor detail changes. I'm used to thinking of finer plaster details and stone often needs to be more robust to physically hold up to the mallet and chisel.

The redlines led to a minor cascade effect that ended up in another half day of redrawing. Better to work it out in pencil than face an issue in the stone.

Jamb profile and plinth
One of the things I've enjoyed learning in the process is the fireplace specific nomenclature. I have a fairly broad base of architectural vocabulary that didn't necessarily apply and found myself at a loss at what to call things. I believe I now have it sorted out and the pieces are labeled correctly, at least in the image captions.

Mantleshelf
Sam and I have decided to leave the spandrel and frieze areas of the mantlepiece and the concave profile of the mantleshelf solid for now, focusing on plain profile work. That way if a client is interested in the surround we can customize ornamentation for them. That won't preclude us from drawing some conceptual sketches later in the semester.

Our colleague Charles is designing an entire fireplace including the surround and firebox (and the hearth I would imagine) in brick masonry. I'm yet to discuss the details with him but it appears he is designing the surround in rubbed and gauged brick with an ovolo pattern in the mantleshelf. Exciting stuff!


Contributed by Patrick Webb

Friday, January 16, 2015

Designing a Jacobean Fireplace


Sam working on the sketch
It is the Spring semester of my Junior year and the assignment is to design and carve a limestone fireplace. My fellow student Sam and I were given the option to each produce our own small fireplace or alternatively collaborate on a more complicated design. An easy choice. We work really well together and both want to create something really special in the allotted time.

Draft of the overall design
We were conducting our research and came across this lovely fireplace from the keep of the castle in Tattershall a little to the southeast of Lincoln, UK. It appears that the fireplace was installed after 1560, squarely in the Jacobean period and the detailing is typical of the era. Sam is a talented designer and has taken the lead in the sketches you see here. We've designed it to be compatible with an Isokern Earthcore® modular firebox and are definitely on the lookout for a client. The interior width of the opening is a spacious 60". We'll be publishing details towards the end of next week.

We still have a few more details to work out including a final review of the profile and designing a small cymantium above. As with the Tattershall example we are designing the surround to fit into the wall. I think the integration conveys a deep feeling of solidity. Another attraction for us was the painted heraldry. We have 6 spaces above for ornamentation. Currently I'm researching how limestone was painted in the period and would like to incorporate similar ornamentation in the frieze, hopefully with the input of a client.


Contributed by Patrick Webb

Change You Can Believe In


Apollo and Daphne, Bernini
What you leave behind is not what is engraved on stone monuments, but what is woven into the lives of others.” ― Pericles

Metamorphosis: the changing of form of one thing into that of another. Bernini effectively captures the moment of metamorphosis of the nymph Daphne. Her pleas answered, she is transformed into a tree, escaping the lustful pursuit of the god Apollo. Yet Bernini's work too is a metamorphosis: that of a block of lifeless marble transformed into a frozen moment of movement and emotion. Underlying all of this is yet another transformation, that of the marble itself, belonging to a third or tertiary group of rock classified as Metamorphic.

Marble

Marble starts off its existence as a sedimentary rock, limestone. Through heat and pressure within the earth's crust its molecules are loosed from their bonds. Subject to magnetic forces they reorient, align becoming more crystalline. If the limestone is pure the marble will be an unadultered white such as the Luna marble used for Benini's sculpture. More often the limestone has impurities of sand, clay or other minerals that can provide interesting patterns of veining as well as a large variety of colours, many quite vibrant.

Rossa Verona marble, Basilica di Santa Maria Maggiore a Bergamo
Slate

Charleston, SC
Under certain conditions clays composed of quartz and mica will settle in sedimentary beds that later undergo compaction. These form leaves of shale, a very fissible or flaky stone not typically useful as a building material.  Under given conditions of heat and directional pressure shale will transform into slate. One of slate's most useful qualities is its impermeability of water absorption. This makes it ideal for water tables and as a roofing material. Although most slate occurs in darker colors there is still considerable variety that allow for intricate pattern making. As a result slate roofs can be quite beautiful, require minimal maintenance and often last hundreds of years. Despite its hardness and density, slate is very finely textured which makes it a desirable, enduring material for plaques and gravestones.

Quartzite
Amenhotep III, Thebes

As limestone will transform into marble, sandstone subjected to similar conditions will change into quartzite. It completely loses its original sedimentary character ending up with a very homogeneous texture. The resulting stone is typically extremely hard and likewise phenomenally durable. Quartzite is often used for paving of roads because of its character. The ancient Egyptians used quartzite for colossal monumental work. Many of their original statues have endured the elements in good condition for thousands of years.

Schist and Gneiss

Unlike the aforementioned, schist and gneiss are classifications of rocks that have undergone a geological process independent of their chemistry. They are more often than not a fusion of several different types of rock that have become subject to extreme tectonic forces, such as those occurring at continental plate boundaries. These forces causes the minerals in the rocks to separate and begin to form independent layers. Schists have varying degrees of hardness but are characterized by 'foliation' referring to fine layers that can be easily split. Gneiss by contrast is not easily split at the coarser layer boundaries and tends to be a much harder material. Gneiss is a very common material making up a large percentage of the bedrock of the earth's crust.

Gal Viharaya Buddha

That concludes this brief series on the three main classifications of rock: Igneous, Sedimentary and Metamorphic. I hope you've enjoyed them! Meanwhile, it's time for me to get back to carving. Look forward to updating you on my next project, a Jacobean fireplace in limestone.

Contributed by Patrick Webb

Monday, January 12, 2015

Sedimental Sentiments


Mary Magdalene, Titian
"Do not keep the alabaster boxes of your love and tenderness sealed up until your friends are dead. Fill their lives with sweetness, speak cheering words while their ears can hear, and while their hearts can be thrilled and made happier by them." -  William Congreve

What a great time to be a stone carver. 3 billion years ago would not have done at all. Hell on earth with nothing but pumice, granite and basalt about. If igneous rocks are the spawn of heat and flame, sedimentary stones are the progeny of water and ice. Life, erosion and lots and lots of time has mellowed, softened the waking nightmare into a dreamy paradise. 

Sedimentary stones are classified as secondary, that is to say they are the result of a subsequent action. The name 'sediment' derives from the Latin 'sedere' meaning 'to sit down' or 'deposit'. So it is that sedimentary stones form gently, layer after layer, year after year slowly accreting into laminar beds. Let's consider a few common sedimentary stones, how they form and their most appreciated properties.

Sandstone

St. John the Baptist 
Charleston, SC
Sandstone generally is a result of erosion, specifically glacial action. The ice presses forward slowly, methodically grinding the mountains of quartz, granite and feldspar, pulverizing them into sand, abandoned as they recede. Layers of sand build up, compressing under their own weight. Saturation with water is the key to turning the sand into stone. Minerals precipitate out of the water into the tiny spaces between the sand forming a natural cement. If the deposits are argillaceous, clayey the stone will remain relatively soft yet easy to carve. Calcareous deposits will produce a sandstone similar to limestone. Siliceous or silica infiltration can result in the hardest, most durable of sedimentary stones.

Limestone

The formation of limestone is typically an altogether different process of deposition. Over millions of years marine organisms small and large extract calcium from seawater to form there skeletons. As they perish, their remains collect on the ocean floor. Usually you can see 'bedding', the layers that have compacted and cemented together as clearly as rings on a tree. When cutting and laying sedimentary stone it very important to take into consideration the bedding. The stone is most vulnerable to erosion and frost if the laminar or horizontal face of the stone is exposed, particularly in a vertical orientation. Many limestones are relatively easy to work and can achieve a good level of detail making them an ideal material when learning to carve.
Students learning to carve with Indiana limestone at
The American College of the Building Arts

Alabaster

Alabaster Capital, The Breakers
Newport, RI
The most common way for gypsum to form is through the process of evaporation. As water becomes trapped in inland seas, salt levels increase exponentially. Under the right conditions, particularly when the water has high calcium content,  gypsum will precipitate in large quantities that accumulate into giant 'massifs'. As these beds compact they increasingly crystallize eventually forming the highly translucent and beautiful alabaster. Alabaster can be pure white although it is not uncommon to find a 'bloody' iron infiltration. Alabaster is a softer mineral than sandstone or limestone, is easily carved and can be brought from a lustrous to high polish.

Next we'll wrap up the series with the preferred medium of the great masters, metamorphic stone.

Contributed by Patrick Webb